The smokey eye is a timeless makeup technique that adds depth and drama to any look, making it a favorite for both everyday wear and special occasions. Mastering this alluring style not only enhances your features but also boosts your confidence, enabling you to express your unique beauty. Whether you’re preparing for a night out or simply want to elevate your daytime makeup, this guide will walk you through six essential steps to achieve the perfect smokey eye. Say goodbye to intimidation-our expert techniques break down the process for all skill levels, ensuring you can create a stunning effect that turns heads. Get ready to unlock the secrets of this classic look and embrace your inner makeup artist!
Choosing the Right Products for a Smokey Eye Look
Choosing the right products for a dramatic smokey eye can elevate your look from ordinary to extraordinary, allowing you to express your individual style with confidence. Factors such as eyeshadow formulation, color payoff, and blendability play pivotal roles in achieving that sought-after sultry allure. To start, it’s essential to invest in high-quality products; think creamy, pigmented eyeshadows that offer easy blending. Brands like Seint and Thrive offer versatile palettes that cater to all skin tones, allowing you to create depth and dimension effortlessly.
When selecting your shades, consider a combination of matte and shimmer finishes. Matte shadows work beautifully for transitioning colors and building depth in the crease, while shimmery shades can accentuate the eyelids, catching the light for a more captivating look. Don’t forget about the importance of a good primer; an eyeshadow primer can enhance the longevity and vibrancy of your colors, ensuring your masterpiece lasts from day to night.
Furthermore, tools matter just as much as the products themselves. A range of brushes, from fluffy blending brushes to precise flat ones for packing on color, are crucial for seamless application. Brands like Ilia and ELF provide user-friendly options that are both affordable and effective, allowing makeup enthusiasts of all levels to achieve professional results. By equipping yourself with the right products and tools, you’ll not only simplify your process but also amplify your smokey eye prowess, ensuring a stunning result that turns heads and boosts your beauty confidence.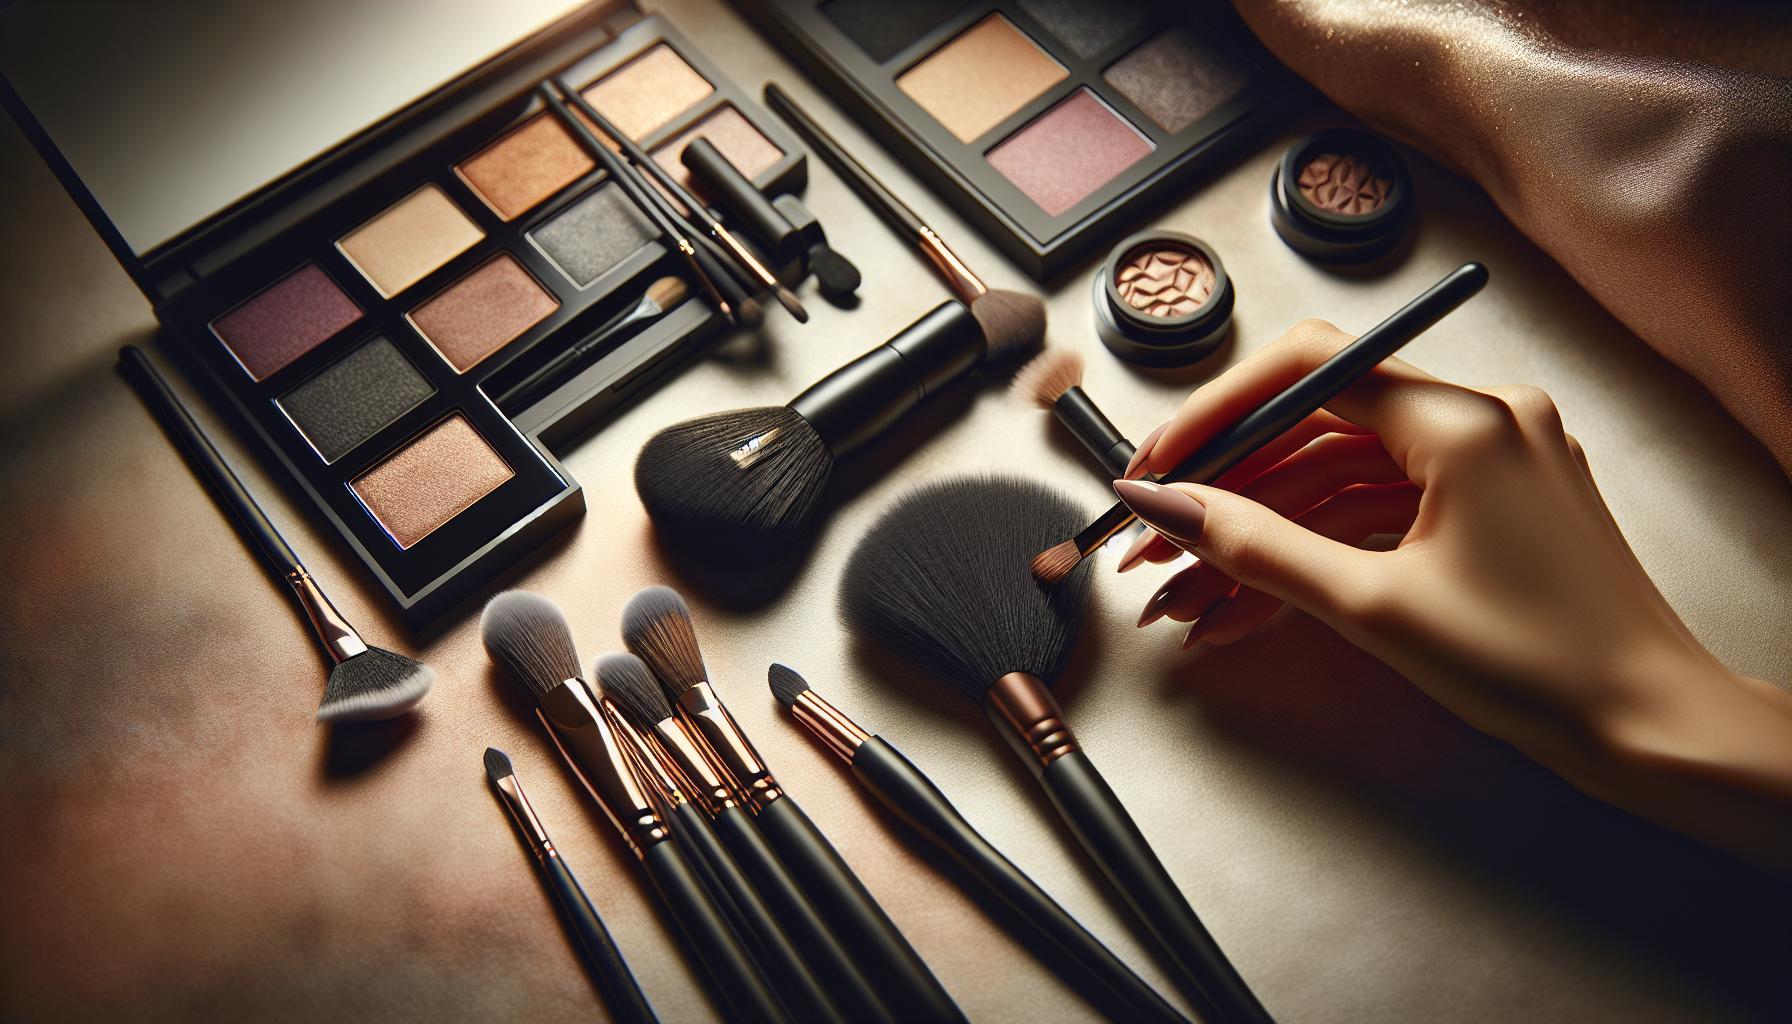
Essential Tools for Achieving a Stunning Smokey Eye
To create a stunning smokey eye, having the right tools at your disposal is just as crucial as choosing the right products. Investing in quality tools can make all the difference in achieving flawless application and blending. Here’s a breakdown of the essential tools you should gather to elevate your smokey eye game.
Makeup Brushes
A diverse set of brushes is essential for the perfect smokey eye. Here’s what you’ll need:
- Blending Brush: A fluffy blending brush is your best friend for seamlessly mixing colors and softening harsh lines. Brands like Ilia offer tapered brushes that are perfect for this purpose.
- Flat Shader Brush: This brush is ideal for packing on color, especially if you’re using intense pigments or glitter. Look for one that has a firm yet soft bristle to maximize color payoff.
- Detail Brush or Pencil Brush: For those tricky inner corners and lower lash line details, a detail brush helps to apply product with precision.
- Angled Brush: Useful for applying eyeliner or brow powder, an angled brush can help define your look when crafting that sultry effect.
Eyeshadow Primer
Don’t underestimate the power of a quality eyeshadow primer. A good primer prevents creasing and enhances the vibrancy of your eyeshadows, ensuring your smokey eye stays locked in place from day to night. Products from brands like Thrive offer excellent formulas that are lightweight and effective.
Makeup Remover and Cleansing Pads
Mistakes happen, especially when experimenting with bold eye looks. Keeping cotton pads and a reliable makeup remover close at hand is essential for quick fixes or cleaning up fallout. Look for oil-based removers that are gentle on the skin and effective in removing even the most stubborn products.
Tools for Application
Aside from brushes, consider using other tools to enhance your application:
- Beauty Blender or Makeup Sponge: While not traditionally used for eyeshadow, a damp sponge is perfect for blending out harsh edges on your eye base or even utilizing for correction.
- Tweezers: Helpful not just for false lashes, a pair of tweezers can assist in maintaining perfect brow shape as you balance your eye look.
Equipping yourself with these tools will not only simplify the process but also boost your confidence as you master the transformative art of the smokey eye. With practice and the right implements, you’ll be able to create a sultry look that showcases your unique style.
Step-by-Step Guide: Creating the Perfect Base
Creating a flawless base is essential for achieving a stunning smokey eye that lasts all day and night. Before you dive into the fun of layering shadows, it’s important to establish a smooth canvas on your eyelids. This not only enhances the vibrancy of your colors but also ensures your look remains pristine without any creasing or fading.
Start by applying an eyeshadow primer, which works wonders in prepping your lids. A good primer serves multiple purposes: it creates an even texture, counteracts any natural oil buildup on your eyelids, and ensures maximum wear time for your eyeshadows. Brands like Thrive offer excellent formulations that glide on smoothly and dry quickly, so you can move on to the fun part: applying your shadows.
Next, consider the foundation for your eyeshadow. For added uniformity, use a cream eyeshadow or a concealer specifically designed for the eyelids. This step not only cancels out any discoloration but also allows the subsequent products to pop. With a flat shader brush, apply a nude or matching concealer shade across the entire lid, extending slightly above the crease if you plan to blend darker shades. For best results, set this base with a light dusting of translucent powder to lock everything into place.
Finally, don’t forget the importance of brow care when creating your base. Well-groomed brows frame your eyes and can enhance even the most dramatic eye looks. Use a brow gel or pencil that matches your natural color to fill in any sparse areas and keep your brows looking polished. With these essential steps completed, you’ll have the perfect foundation to seamlessly blend and build upon as you dive into your smokey eye design.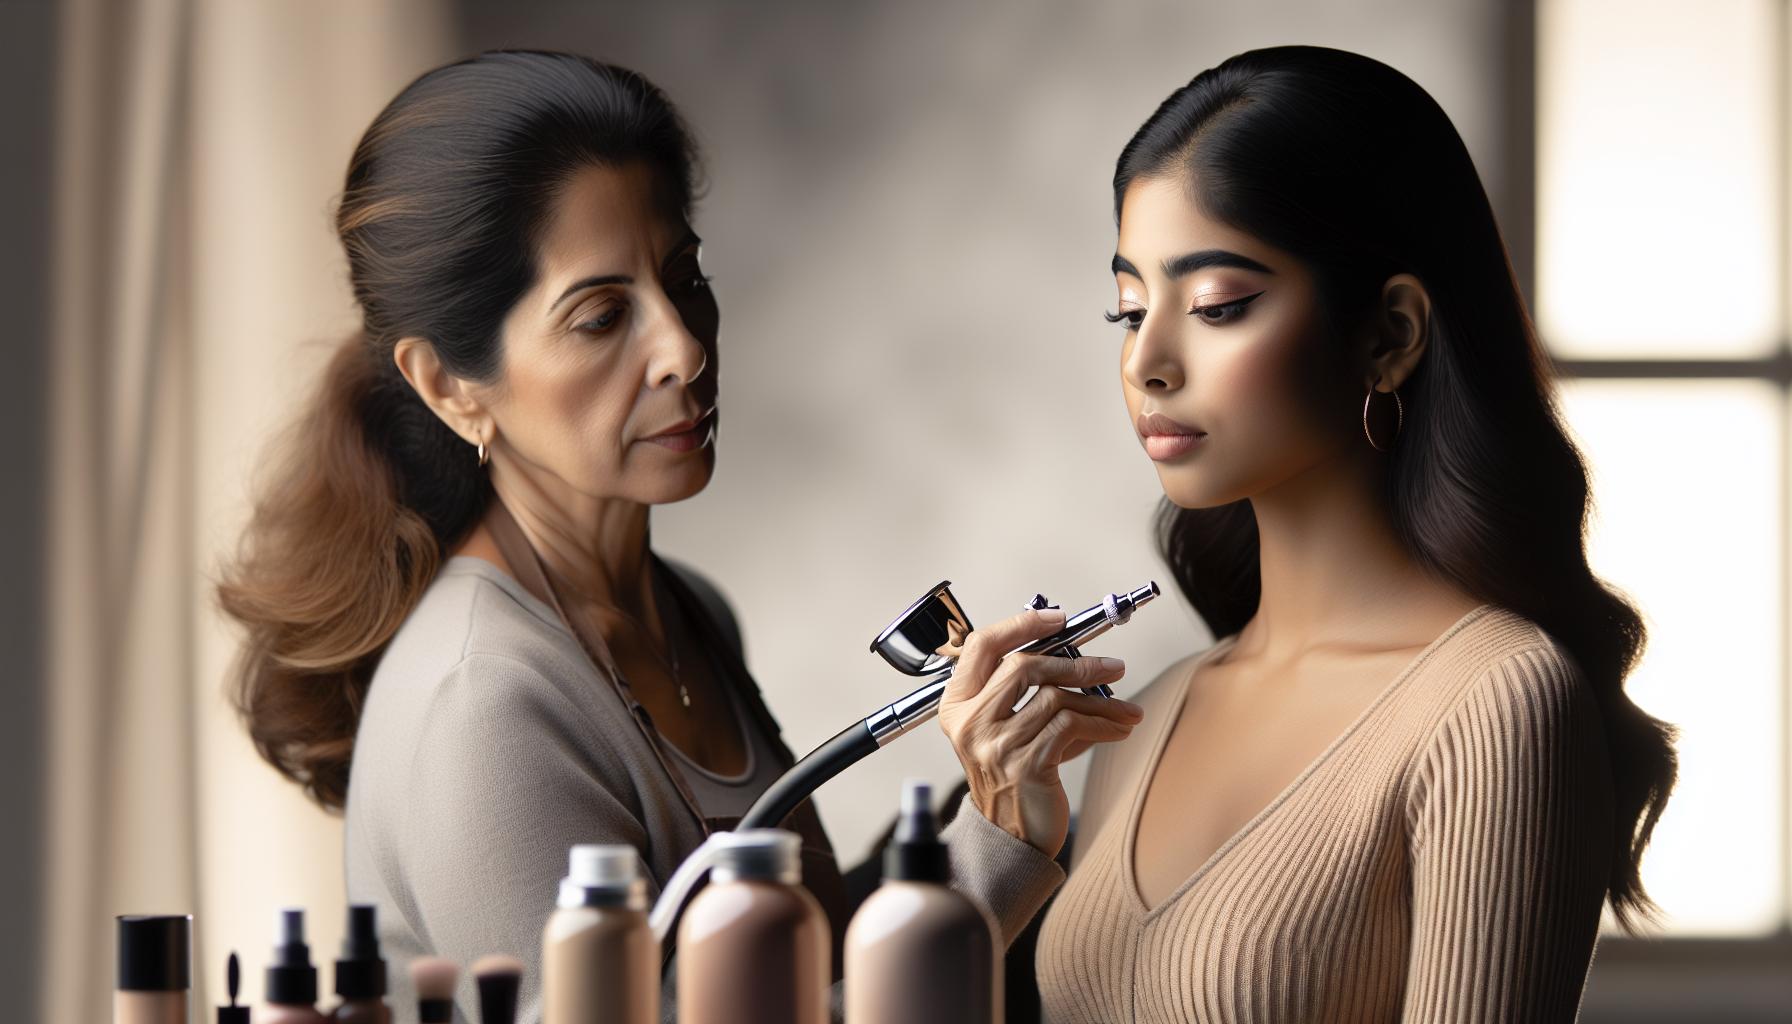
Techniques for Blending Eyeshadows Seamlessly
Creating a mesmerizing smokey eye look hinges on the art of blending, and mastering this technique can elevate your makeup game significantly. Blending is essential not only to achieve a seamless transition between colors but also to prevent harsh lines that can detract from the overall effect. To facilitate flawless blending, always invest in high-quality brushes. A good selection includes a dense blending brush for applying the transition shades, a flat shader brush for packing on color, and a smaller pencil brush for detail work.
Begin the blending process with a light hand. When applying your first transition shade, use the dense blending brush to apply the color into the crease in a back-and-forth motion. Start with a small amount of product and gradually build up the color intensity; this will help prevent overwhelming your eye look right from the start. The goal is to create a soft gradient; thus, ensure that you’re diffusing the product upwards towards the brow bone, allowing the transition to flow naturally.
Once your transition shade is laid down, it’s time to introduce the deeper shades. Use a flat shader brush to apply a darker shadow directly onto the lid, placing it closest to the lash line. Then, switch back to your dense blending brush to softly diffuse the edges of this darker color into the crease. To ensure even more seamless integration, consider using a clean blending brush, which is ideal for softening any edges without adding more product. This technique provides a soft, airbrushed effect that is critical for a well-executed smokey eye.
Lastly, remember to check your work frequently by stepping back and observing your eye look from different angles. If areas appear too harsh, you can simply go back with the clean blending brush to soften the edges further. Patience is key; blending can be time-consuming, but the final effect-a beautifully cohesive smokey eye-is well worth the effort. Whether you’re preparing for a casual outing or a glamorous event, these blending techniques will help you achieve that coveted sultry look, ensuring that your eyes are the focal point of your makeup artistry.
Add Depth: Highlighting and Contouring the Eye
To elevate your smokey eye game, understanding the nuances of highlighting and contouring the eye area is essential. This technique not only enhances the drama of the smokey eye but also adds depth and dimension, allowing your eyes to truly pop. The goal is to create balance by highlighting the areas that should draw attention and contouring parts that naturally recede, which brings focus to the stunning colors you’ve blended.
One effective method for highlighting is to apply a light, shimmery eyeshadow or a cream highlighter to the inner corners of your eyes and just under the brow bone. This brightens the eye area and creates an illusion of lifted brows, simultaneously opening up the eyes for a wider and more youthful appearance. Utilizing a small, precise brush, gently tap the highlighter into these areas, working in a light hand to avoid overwhelming the look. For the eyelid, you can also apply a lighter shade in the center; this adds not only brightness but also a finishing touch that enhances the smokey effect, creating a mesmerizing contrast between the darker shadows and the light.
Contouring the eyes involves using deeper, matte shades to define the crease and lower lash line. A medium to dark matte shadow can be applied with a small, tapered brush along the crease to add depth. This technique not only shapes the eye but also enhances the smokey appearance by blending the contour color into the transition shade you applied earlier. Remember to layer gradually, building the intensity rather than applying a heavy hand at once. You can extend this contouring down to the lower lash line for a cohesive look; apply the same dark shade along the lower lashes to unify the upper and lower eyes, creating a sultry and captivating gaze.
Experimentation is key in this step. Don’t hesitate to play around with varying intensity levels of the highlight and contour products to suit your personal style and the occasion. By mastering these highlighting and contouring techniques, you will transform your smokey eye into a work of art that stands out, ensuring that your makeup reflects your unique personality, whether it’s for a day at work or an elegant evening out. Keep practicing, and soon enough, you’ll find the perfect balance that enhances both your eye shape and the smokey aesthetic beautifully.
Finishing Touches: Eyeliner and Mascara Application
To elevate a smokey eye into an eye-catching masterpiece, the final touches with eyeliner and mascara are paramount. These finishing products not only define the eyes but also enhance the depth and dimension you’ve crafted with eyeshadow. The right application techniques will transform your look from good to gorgeous, ensuring that your smokey eye is as impactful as you envisioned.
When it comes to eyeliner, there are various options available-gel, liquid, pencil, and felt-tip pens-each offering unique finishes and ease of use. For a classic smokey eye, a creamy black or dark brown pencil eyeliner is ideal for creating a sultry effect. Start by tightly lining your upper lash line, focusing on applying more product at the outer corners for a lifted appearance. Smudge the liner gently with a small brush or your fingertip for a softer, more diffused look. To further enhance the smokiness, apply a touch of the same eyeshadow shade used on the upper lid over the liner with a small brush, blurring the line and integrating it with the shadow for a seamless finish.
As you turn your attention to the lower lash line, keep the balance of colors in mind. Use a small angled brush to apply the dark eyeshadow or eyeliner you used on the upper lid, carefully blending it against the lower lash line. This not only ties the look together but also accentuates the eyes, lending that coveted glamorous effect. For further drama, consider a pop of color or a shimmery eyeshadow on the inner corner, which can brighten the eyes and create a stunning contrast against the darker shades.
Now onto mascara-arguably the most crucial step in completing your eye makeup. Choose a volumizing or lengthening mascara to achieve luscious lashes that frame your smokey eye beautifully. Begin at the base of your lashes, wiggling the brush back and forth as you move upward to ensure even application and to prevent clumps. Don’t forget your lower lashes; a light coat here can help to open up the eyes, enhancing the smokey effect. For those looking to go the extra mile, consider layering two different mascaras-one for volume and another for length-or use a lash curler beforehand to achieve a more dramatic lift.
In essence, the final elements of eyeliner and mascara are not merely afterthoughts; they are essential facets of the smokey eye look that can transform your entire makeup game. By understanding how to apply these products effectively, you’ll gain confidence in achieving your desired style, whether it’s for an everyday look or a night out on the town. Embrace practice-experiment with different liners and mascaras to discover what complements your unique eye shape and personal style, ensuring your smokey eye makes a statement every time.
Tips for Long-Lasting Smokey Eye Makeup
To ensure your smokey eye makeup stays flawless throughout the day, incorporating a few strategic techniques can make all the difference. Long-lasting makeup begins not just with the right products, but also with how you prepare your eyelids and apply each step. Humidity, tears, or even a simple brush against your eye can smudge all your hard work, but with the following tips, you can create a stunning look that lasts.
Start with a proper primer designed for the eyelids. This essential step creates a smooth canvas for your eyeshadow, ensuring better adherence and longevity. Look for a high-quality eye primer or even a concealer that matches your skin tone to neutralize any redness. Apply it evenly across the lid and set it with a light dusting of translucent powder, which acts as a barrier to keep your eyeshadow from creasing or fading.
When selecting products for your smokey eye, consider formulas with long-wear and waterproof properties. Cream shadows can provide intense pigmentation but may crease without the right setting. Combining powders with a cream base can create a more dimensional look while ensuring everything stays locked in place. For instance, apply a cream eyeshadow as a base and layer a powder shadow on top for maximum impact.
To further enhance the longevity of your look, consider finishing with a setting spray formulated for makeup. This not only helps to seal your eyeshadow in place but also creates a barrier against moisture and heat. Hold the spray at arm’s length and mist it over your completed makeup. Remember to let your makeup dry fully before blinking to avoid any transfer.
Lastly, keep a few touch-up products handy, such as your favorite eyeliner and a small mirror. Throughout the day, if you notice any fading or smudging, lightly reapply with a careful hand. This practical approach ensures your striking smokey eye remains as captivating in the evening as it was when you first applied it. Embrace these pro tips to elevate your artistry and confidence, making that smokey eye an unwavering statement of beauty and style.
Common Mistakes to Avoid with Smokey Eyes
When it comes to achieving a flawless smokey eye, avoiding common pitfalls can be just as important as perfecting your technique. Many enthusiasts, from beginners to seasoned pros, overlook details that can make or break the look, resulting in less-than-stellar results. Understanding and sidestepping these mistakes will not only enhance your skills but also boost your confidence as you create captivating eye designs.
One of the most prevalent mistakes is using the wrong brush for blending. This seemingly minor choice can drastically affect how the shadows integrate. For a truly blended smokey eye, opt for a soft, tapered blending brush that allows for control and seamless transitions between colors. In contrast, using a stiff or flat brush can leave harsh lines and patchiness. Remember, the right tools make all the difference-invest in quality brushes, such as those from brands like sigma or Morphe, which are designed specifically for blending shadows.
Another frequent error arises from not properly layering products. A smooth smokey eye often relies on the technique of layering cream and powder shadows. Starting with a cream base can provide the necessary pigment, but if you skip the powder layer on top, you risk fallout and creasing, especially if your eyelids are oily. Be deliberate about layering: apply a cream eyeshadow as a foundation, followed by a powder shadow to set it. This not only enhances color intensity but also ensures your look adheres better and lasts longer throughout the day.
Moreover, overdoing it with dark colors can create an overwhelming effect. It’s crucial to balance the intensity; use lighter shades to highlight key areas, such as the inner corner of the eyes and the brow bone. This contrast adds dimension and brings your look to life, preventing it from appearing flat. Additionally, always remember to pay attention to your eyeliner application; overly heavy lines can draw attention away from the smokiness of your shadow. Instead, opt for a softer line and smudge it slightly for a cohesive finish.
Making conscious efforts to avoid these common mistakes can dramatically elevate your smokey eye game. With strategic application, thoughtful product selection, and proper blending techniques, you’ll not only master this quintessential makeup look but also empower yourself and others to embrace their beauty with confidence.
Transforming Day Looks to Dramatic Evening Styles
Transforming a fresh daytime look into a stunning evening smokey eye is a powerful skill that can elevate your makeup game to new heights. The key to this transformation lies in strategic layering and added intensity without compromising the original elegance of your daytime appearance. Understanding how to amplify your look allows for a versatile approach to makeup that can take you from brunch to a night out with ease.
Begin with your day makeup as the foundation. A soft, neutral eyeshadow paired with a light mascara sets a polished tone without feeling overdone. Transitioning to your evening look requires enhancing this base. Start by reapplying a good eye primer to ensure longevity and vibrancy as you add depth. Next, focus on incorporating darker shades into the outer corners and crease of your eyelids. A deep charcoal or rich brown can create the much-desired smokey effect. Use a soft, tapered blending brush to introduce these colors gradually, ensuring a seamless blend with the lighter daytime shades. This technique not only adds depth but also maintains a soft transition that allows your eyes to look polished yet dramatic.
To further amplify your features in the evening, consider adding metallic or shimmer shades to the center of your eyelids. Opt for shades like bronze or gold, which catch the light beautifully and draw attention to your eyes, adding dimension and allure. Additionally, don’t shy away from enhancing your eyeliner. A bolder eyeliner on the upper lash line, smudged slightly for a smokey effect, can beautifully frame your eyes. Remember, transitioning to an evening smokey eye means allowing for more drama, but maintaining balance is crucial. For instance, if you go heavier on the eyes, complement this with a softer lip color to maintain overall harmony in your look.
Finally, finishing touches elevate your makeup from day to night. A good set of false lashes can dramatically change your appearance, making your eyes pop and providing a glamorous edge. Ensure to finalize your look with a long-lasting setting spray to keep the makeup intact throughout the evening. By navigating these simple yet effective changes, you can master the art of transitioning your makeup from casual to captivating, illustrating your style and confidence no matter the occasion.
Color Variations: Customizing Your Smokey Eye
Incorporating color variations into your smokey eye makeup can elevate your look from classic to uniquely expressive. The versatility of the smokey eye allows you to play with different shades that not only enhance your eye color but also reflect your personal style. Here are some effective ways to customize your smokey eye by utilizing various color palettes.
One of the easiest ways to customize your smokey eye is by adjusting the base tones. Instead of traditional black or gray, consider using rich jewel tones like deep emeralds, sapphires, or burgundies. These shades work wonders for adding depth while making your eyes stand out vibrantly. For instance, incorporating a deep plum in the outer corners can create a stunning contrast against lighter skin tones, while a navy blue can accentuate brown or hazel eyes beautifully.
Accent Colors and Finishing Touches
Feel free to add pops of color as accent shades to brighten up your look. Bright metallics or iridescent shadows in gold, copper, or silver can be blended into the center of your lid or the inner corner of the eye to create an eye-catching highlight. Using a colored eyeliner or mascara can also enhance the smokiness of your eyes while tying in your chosen hues. Experimenting with a bold olive green eyeliner can complement a soft brown smokey eye, striking a perfect balance between dramatic and classy.
Mix and Match Techniques
Don’t shy away from mixing textures. Pair cream or liquid shadows with powder products, as this can add dimension and a luxurious finish. Consider layering a matte shade on the outer crease for depth while using a shimmer or foil finish on the lids for a more dynamic appearance. This technique not only helps you achieve the smokey effect but also ensures your eyes catch the light beautifully, drawing attention to your artistry.
By exploring these creative avenues in color variances, you can truly personalize your smokey eye look, ensuring it reflects your uniqueness and enhances your natural beauty. Whether you aim for a subtle day look or a bold evening statement, the right colors can make all the difference.
Inspiration: Iconic Smokey Eye Styles to Try
There’s something undeniably captivating about a well-executed smokey eye, a timeless look that has graced the faces of beauty icons across decades. From the sultry glam of the 1960s to the edgy styles of modern fashion, the smokey eye continues to evolve, allowing for personalized expression while maintaining its classic allure. Here are some iconic styles to inspire your next look.
Classic Black Smokey Eye
This style is the gold standard for smokey eyes. Start with a creamy black eyeliner to create a base, smudging it across the lid and down to the lower lash line. Layer a matte black shadow over the liner, blending upwards into a soft gray or taupe shade in the crease. Finish with voluminous lashes for that quintessential, seductive finish. This look can be easily transitioned from day to night by varying the intensity of the colors used or the amount of eyeliner.
Bronzed Smokey Eye
For those who want a warmer touch, the bronzed smokey eye is perfect. Use a rich bronze or copper eyeshadow, applying it on the lid and blending it outward. Dark chocolate brown can be used to deepen the outer corners. Add a touch of shimmery gold on the inner corner and brow bone to brighten the eyes up. This look is ideal for summer or a day out, exuding warmth and glow.
Colored Smokey Eye
Elevate your smokey eye by introducing vibrant colors. Consider shades like deep green, navy blue, or burgundy using the same techniques as a traditional smokey eye. Start with a darker shade as your base and blend in a lighter version of that color for depth. A pop of contrasting color, like a metallic gold or silver in the inner corner, can create a stunning highlight, making this version suitable for parties or events.
Soft Smokey Eye
For a more subtle approach, the soft smokey eye incorporates lighter tones to create a delicate impression. Use peachy or rosy hues on the lid, followed by a faint wash of soft brown in the crease. This style softens edges for a romantic finish and is great for everyday wear, offering just enough contrast without overwhelming the natural beauty of the eyes.
By experimenting with these iconic styles, you can discover which smokey eye look resonates most with your personal style. Don’t be afraid to mix and match techniques or add your unique flair, ensuring that your smokey eye not only enhances your features but also reflects your individuality.
Expert Tricks for Sensitive Eyes and Skin
Creating a stunning smokey eye can be an exciting yet daunting task, especially for those with sensitive eyes or skin. It’s essential to choose the right products and techniques that minimize irritation while allowing you to achieve that dramatic look. Starting with a gentle cleansing routine is crucial. Make sure to remove any traces of makeup from the previous day with a soothing cleanser formulated for sensitive skin, as this prepares your eyes for fresh application and helps to avoid any reactions.
When selecting products, focus on hypoallergenic formulas and those designed specifically for sensitive eyes. Look for eyeshadows and eyeliners that are free from harsh chemicals, fragrances, and irritants. Brands like Thrive and Ilia offer products that often cater to sensitive skin types. For those who wear contact lenses, opt for cream or gel formulas instead of powders, as they are less prone to flaking and can provide a more comfortable experience. Before applying any color, consider using a skin primer or a shadow base to create a barrier between your skin and the products, enhancing longevity and reducing the risk of irritation.
As you start layering colors for your smokey eye, consider blending with soft brushes made from natural fibers; these can reduce pulling on the delicate skin around the eyes. Remember to use gentle tapping motions rather than harsh strokes when applying and blending your products. To create a balanced smokey effect without overwhelming your eyes, work from the outside in, gradually building up the intensity.
Finally, consider finishing your look with an aloe vera or hydrating eye gel post-application to soothe any potential irritation. And always remember to remove your makeup gently at the end of the day-using a soothing makeup remover or micellar water can help ease any sensitivity. By integrating these practices, you can achieve a gorgeous smokey eye while keeping your sensitive eyes and skin happy and healthy.
FAQ
Q: What eyeshadow colors work best for a smokey eye look?
A: For a classic smokey eye, opt for shades like deep greys, blacks, and rich browns. You can also add colors like navy blue or plum for a unique twist. Explore the color variations section of the article to discover how to customize your smokey eye with complementary hues.
Q: How can I make my smokey eye makeup last longer?
A: To ensure longevity, start with an eyeshadow primer to create a smooth base and hold the colors in place. Set your look with a translucent powder around the eyes as described in the tips for long-lasting smokey eye makeup section.
Q: What type of eyeliner should I use for a smokey eye?
A: Gel or pencil eyeliners are ideal for a smokey eye, as they can be easily blended out for a softer effect. Liquid liners can be used for more defined looks. For detailed application techniques, refer to the finishing touches section of the main article.
Q: Can I achieve a smokey eye with just one eyeshadow?
A: Yes, using a single versatile shade, such as a dark grey or a deep brown, can create a simplified smokey effect. Build up the intensity on the outer corners while keeping the inner lid lighter for contrast. This method can be helpful for quick transformations between day and night looks.
Q: What tools are essential for applying a smokey eye?
A: Essential tools include a good quality blending brush, a flat shader brush for applying shadow, and a smudging brush for eyeliner. You’ll find more about these tools in the essential tools for achieving a stunning smokey eye section of the article.
Q: How do I fix mistakes while doing a smokey eye?
A: If you make mistakes, use a clean cotton swab dipped in makeup remover to tidy up edges. Another effective method is to apply a little concealer along the outer edges to sharpen the look. More tips on common mistakes to avoid can be found in the respective section of the article.
Q: When should I apply mascara when doing a smokey eye?
A: Apply mascara after you’ve completed blending your eyeshadows and applying eyeliner. This gives you a clear view of the eyes and ensures no fallout from the eyeshadow disrupts your mascara. For complete details on application, see the finishing touches section of the article.
Q: Why is blending important in creating a smokey eye?
A: Blending is essential in achieving a seamless transition between colors and creating that soft, sultry appearance characteristic of a smokey eye. It helps to prevent harsh lines and promotes a more polished look. Explore the techniques for blending eyeshadows seamlessly section for expert advice.
These questions and answers are designed to enhance the user experience, support your article’s content, and improve SEO visibility. For further reading, check out our detailed beauty guides for makeup applications and professional barbering techniques.
Key Takeaways
Now that you’re equipped with the perfect technique for achieving a stunning smokey eye, it’s time to put your skills to the test! Remember, practice is key to mastering this classic look, so don’t hesitate to experiment with different shades and styles. Need more inspiration? Check out our guides on enhancing your eye makeup with the best tools from Seint, Thrive, and Ilia, or dive into our comprehensive reviews of must-have products like ELF’s latest makeup line.
If you’re looking to elevate your overall makeup game, visit our tutorials on everyday makeup essentials and flawless skin preparation tips. Have questions or want to share your smokey eye success? We encourage you to comment below; your experiences can help others in our beauty community! Subscribe to our newsletter for more beauty tips and exclusive content, and stay ahead of the trends that inspire you. Embrace your creativity and enjoy every step of your makeup journey!

